top of page

.png)
Cool Grips Installation Guide

Print this page as a quick reference guide with our step by step instructions.

01
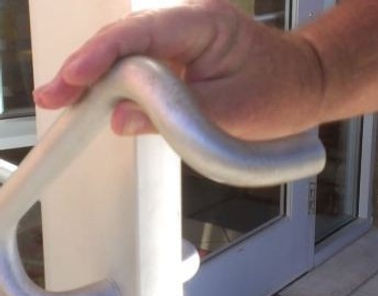
Remove top handle fastener
02
Rotate handle out


03
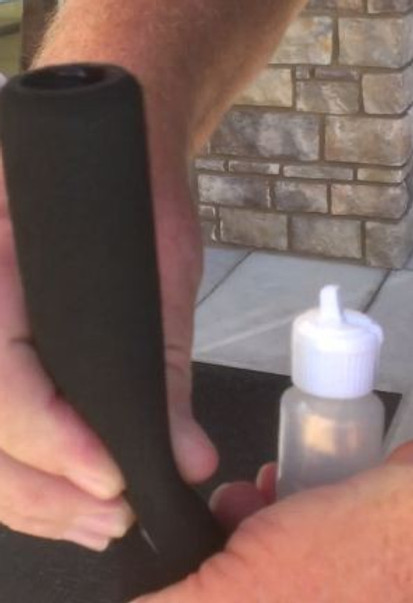
Apply Slip n Stick to inside of grip
04
Hold low end closed and put 2-3 squirts in grip

05
Hold low end closed and massage the grip so all of the inside is coated well
06
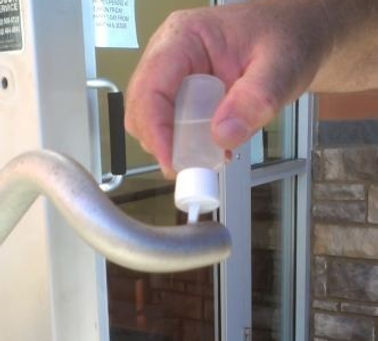
Put 2-3 drops on the metal handle
07
Rub onto areas that will be covered
08
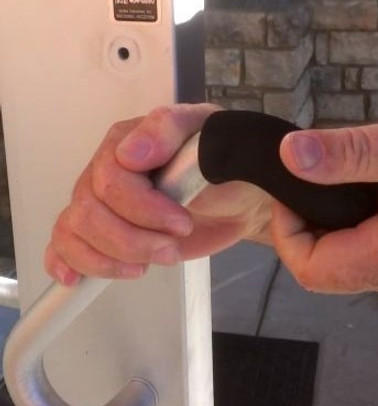
Hold low end closed and begin to put open end over tube


09
While backing up the handle, begin to twist and slide forward the grip into the first turn
10
Continue to support the handle while sliding forward

11
Now support the end of the handle as you lead the front edge into place
12
Position the grip


13
Make sure the trailing edge has made the trip past the turns
14
Carefully center your grip where you want it


15
Wipe off any excess lubricant
16
Return handle to original position


17
Refasten to door, and you're done
bottom of page